
Your Cart is Empty
FREE U.S. DOMESTIC SHIPPING
FREE U.S. DOMESTIC SHIPPING


$115.97 ![]()
Here’s just a glimpse of what Jill offers in this video course:
“I know that I will have to make hundreds and hundreds of paintings to improve, and I am willing to take that journey.” — Jill Stefani Wagner
This quote brings memories of an old expression about experience … that you only get experience by making mistakes. Painful but true.
As artists, we can sometimes stare at great paintings and wonder how the artist did it. We wonder what kind of special genius they had that allowed them to create such incredible art. We sometimes start asking ourselves bad questions, like “How come I’m not that talented?”
Wrong question.
You have talent. You just need good mentors along your path to pull that talent out and inspire you to practice it daily.
Jill Stefani Wagner is one of those special mentors you need along your path. She’ll help you improve your skills so that your art journey is always in an upward motion.
One of Jill’s mentors gave her some pivotal advice early on: “Pick one subject, and paint it 25 times.”At the time, Jill didn’t understand why, but she followed that advice, and it changed her life. Now, she’s reaching out to you through this new video and sharing this foundational secret to her incredible success (along with a bunch more!).
Who is Jill Stefani Wagner?
Jill attended the University of Michigan Art School, and after beginning her art degree, decided to move into graphic design as a way to support herself. That decision led to a 25-year career in advertising. She eventually owned her own advertising agency.
As her career in advertising was coming to an end, her inner artist was screaming to get out.
So she got started. She put in the work. First, starting in watercolors. Then she discovered pastels. Over her years of work in pastels, she has racked up quite a list of accomplishments:
Uniquely qualified to share her insights with you, Jill Stefani Wagner has a presentation style that is easy to listen to and follow. This video has outstanding production quality (definitely NOT shot with a phone camera!).
Become Inspired by Photos Instead of Trapped by Them
First, imagine you’re on a boat ride with Jill. The setting sun is to your back as the boat putters along a tranquil lake. The water is almost as smooth as glass, with just a little ripple in it. You breathe in the fresh lake air and begin to look around in all directions. Then you see it. The inspirational scene. The scene that grips you. So you pull out your phone and take several pictures of it.
But, as you can see, that photo has the darkest darks as solid black and the brightest brights washing out other elements.
This is a good example of how your own eyes see the world very differently from a camera.
Enter Photoshop
Using Photoshop or some other photo editing software, you can begin to lighten the photo and see some definition in other shapes that were much less visible before.
What are the ‘Big 5’ steps that have been discovered and perfected by Jill Stefani Wagner?
STEP ONE: Why?
This is a critical question. Why paint THIS scene? Why does it grab YOUR attention? Why does it make you feel the way it does?
Once you answer this question, Jill recommends you write your WHY on a sticky note and put it on your easel so you can see it the entire time you are painting.
STEP TWO: Focal Point
Where do YOU look in this scene? Where do you want your viewer to look? Jill says it’s usually the place with the most contrast — the brightest brights and the darkest darks.
Here is where she offers a unique take on the grid system that many artists use in some form. Jill divides her photo into just nine boxes. Never any more. The place where the lines intersect in the middle (there are four points) are the areas you can choose from to place your focal point. This virtually guarantees a good composition.
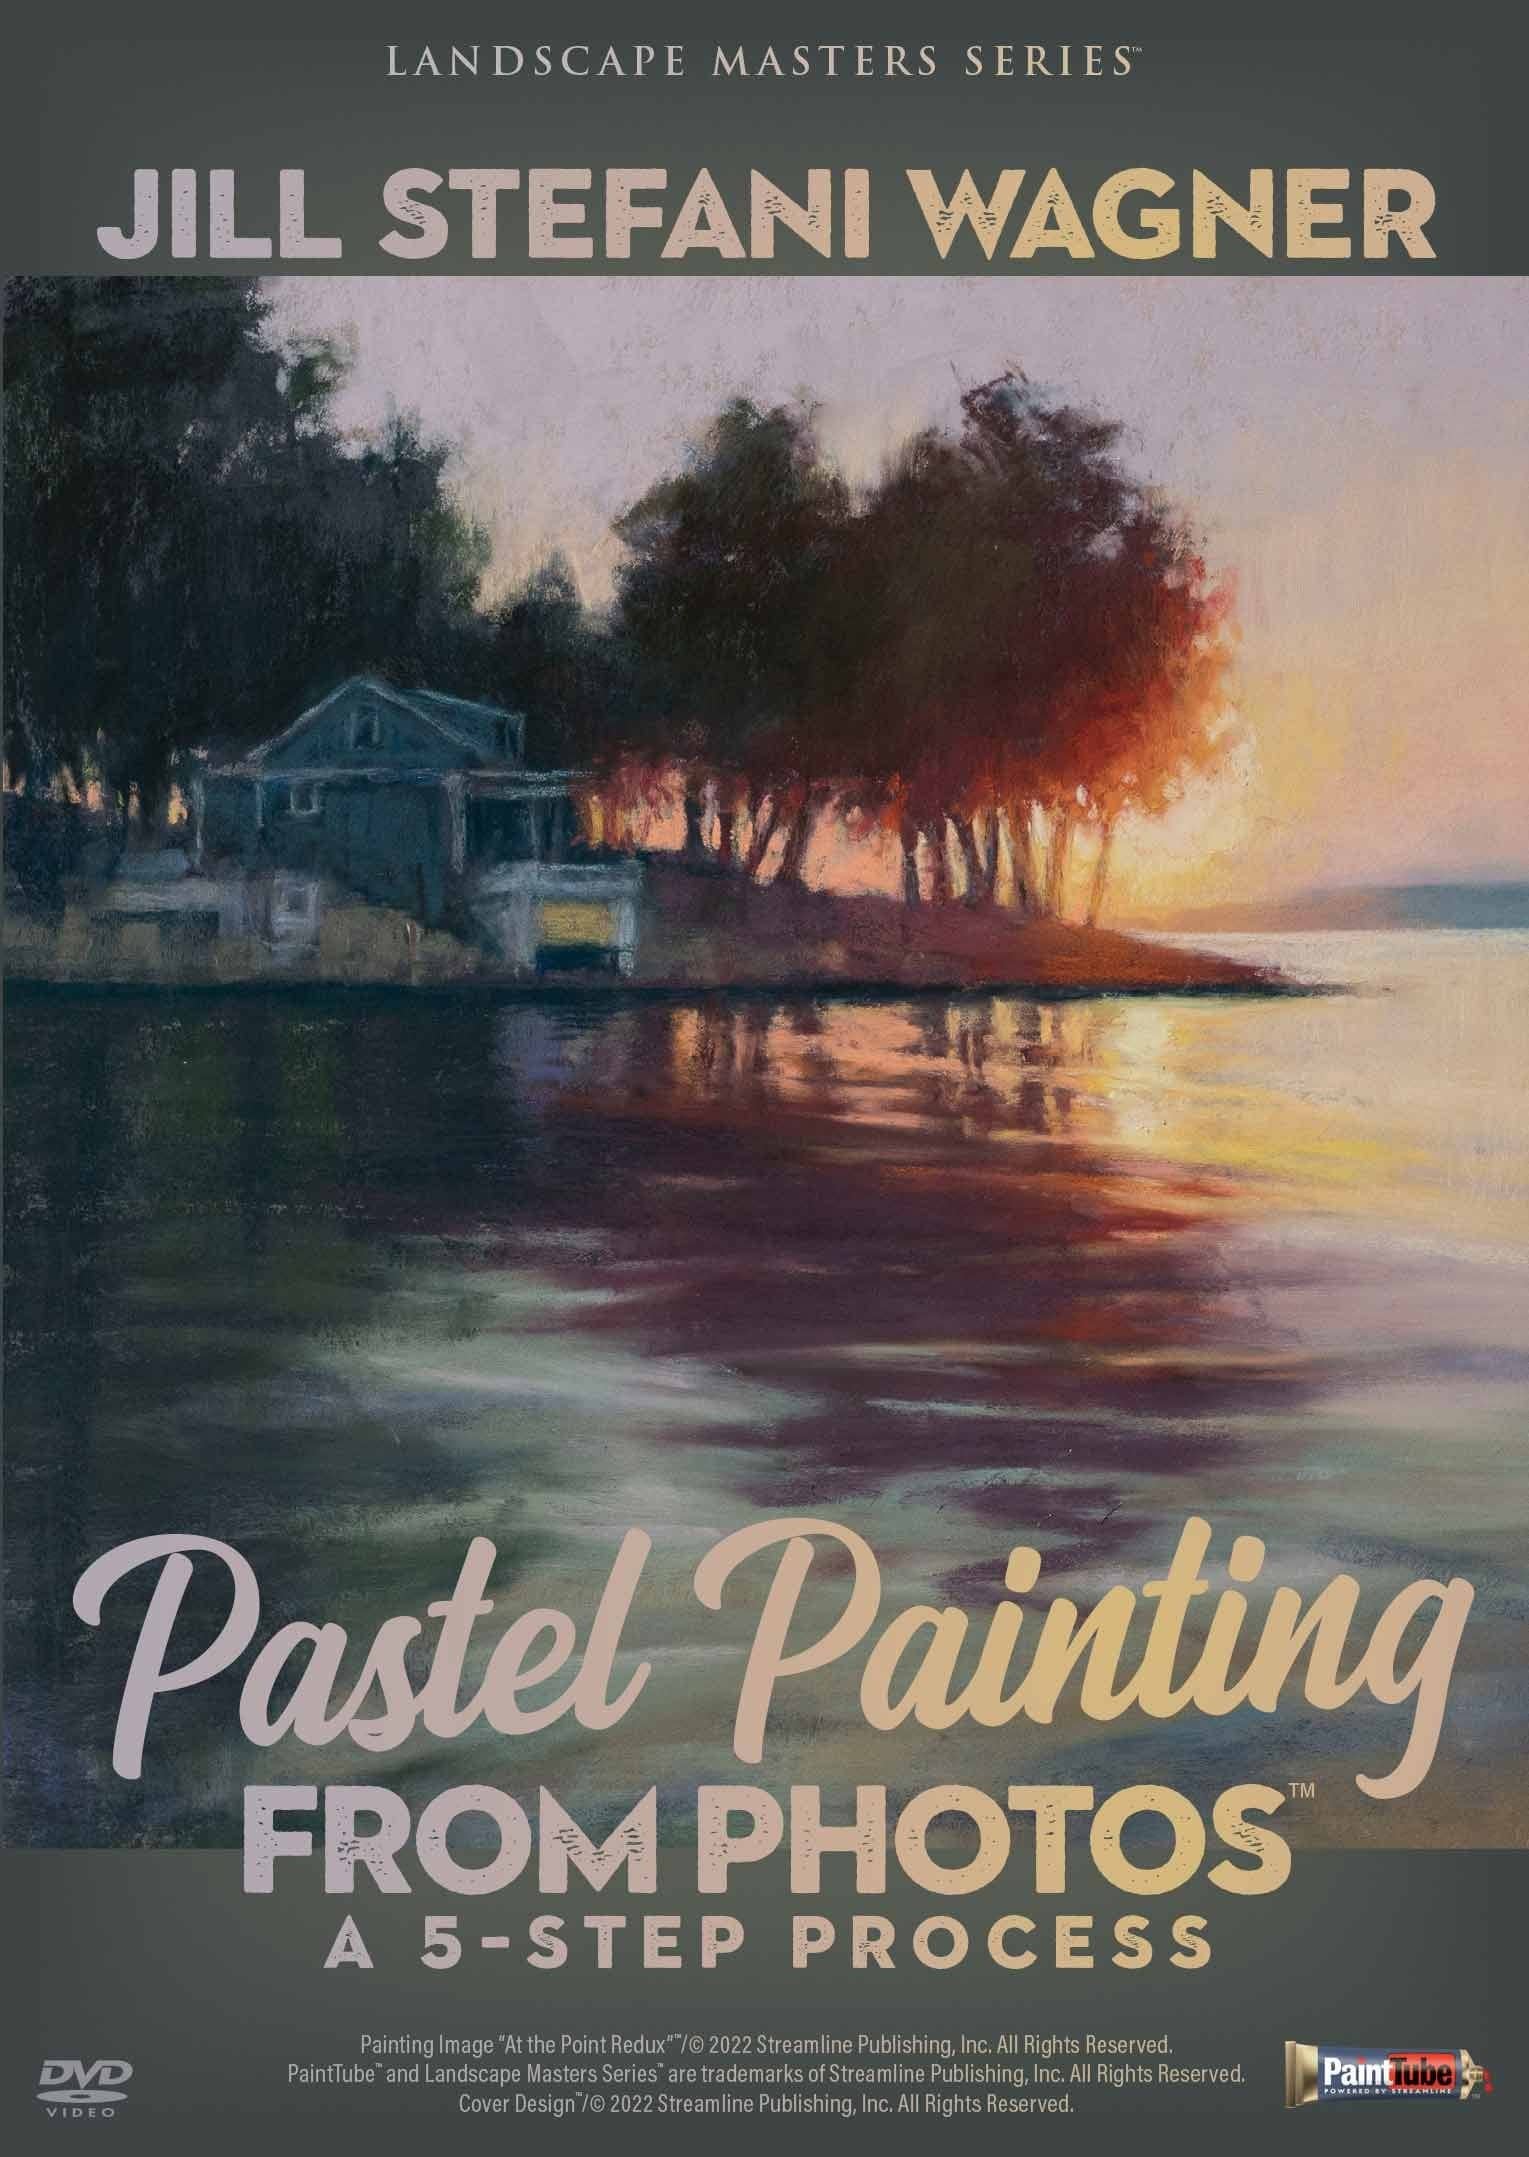
When you’ve decided where to put your focal point, write one more sticky note and put the language of your focal point on it. In this demo, that will be: “Light shining through sunlit trees.” Then place that sticky note on your easel also so you can see it as you paint.
STEP THREE: Composition
This is a step that requires TWO markers. Yep, just two. In this video, Jill will tell you exactly which two they are and why she uses ONLY these two.
During this step, she will work with the values AND the composition. And as the composition sketch is drawn, she’ll look at her final photo. But from her experience teaching many other artists, she knows that seeing the values can be difficult. So she recommends printing your photo out in black and white.
STEP FOUR: Value
Values can be tricky. When they are perfectly right, they’re not noticed. They just become part of the scene. But when they are wrong, everything just looks “off.”
Bottom line, values are just the light and dark of every color. As an example, you’ll see Jill demonstrate the values of black on a board for easy reference.
STEP FIVE: Bring it Together
This is the step where it all comes together. Jill will carefully walk you through this critical last step of the “Big 5.” Honestly, this is where the most fun comes in.
Supercharge Your Pastel Skills
This is your chance to learn virtually from Jill Stefani Wagner. You’ll have her on this exclusive video to play right in your home studio.
And this isn’t just any video. It is shot with the very best cameras (not with a cell phone). This means you’ll see sharp, crisp detail that will amaze you.
More than just ultra-high quality, you’ll be able to watch the digital version on the PaintTube.tv platform, or on Hulu, Roku, iOS, Android, Samsung SmartTV, or Amazon Fire TV. And with the digital version, you can’t ever lose it, scratch it, or break it. It’s just there for you, all the time.
As you go through Jill’s video course, we’re confident your pastel skills will dramatically improve. Differentiate yourself from the rest by mastering this one skill that not many have.
This is the SECOND outstanding video we have produced showcasing Jill Stefani Wagner. She is truly a force in the world of pastels and has secrets to share. Get Pastel Painting from Photos today.
“Although I work extensively in both oil and pastel, I use the same 5-Step process in both mediums. I enjoy painting both in the studio and en plein air.” — Jill Stefani Wagner
Chapter Breakdown
Chapter 1: Materials and Tools
Chapter 2: A Note on Working from Photos
Chapter 3: Planning the Painting — The Big 5 Steps
Chapter 4: Painting Demo: Transfer the Sketch
Chapter 5: Painting Demo: The Underpainting
Chapter 6: Painting Demo: The First Layer
Chapter 7: Painting Demo: The Second Layer
Chapter 8: Painting Demo: Make Adjustments and Develop the Water
Chapter 9: Painting Demo: Evaluate and Refine
Bonuses included with video:


